
How to add Instagram Widget to WordPress
This tutorial will show you how to embed the Instagram widget on a WordPress-based website. It does not require any additional plugins installed.
Disclaimer! This tutorial will work only on stand-alone WordPress installation. It will only work on wordpress.com websites if you have a Business or eCommerce plan! Please read the last chapter of this article to learn more.
Prerequisites
This tutorial does not show how to install WordPress. We assume that you already have a working installation. If you don’t have WordPress installed, please install it on your server and configure your website.
Here is a complete list of prerequisites required for this tutorial:
- Working WordPress installation.
- A WordPress user with permission to customize blocks or widgets.
- A widget created with LightWidget.
Step-by-step instructions for Gutenberg.
We will show you two different methods – one will use Gutenberg, and one will use WordPress widgets. We will start with Gutenberg.
Step 1 – login to your WordPress dashboard.
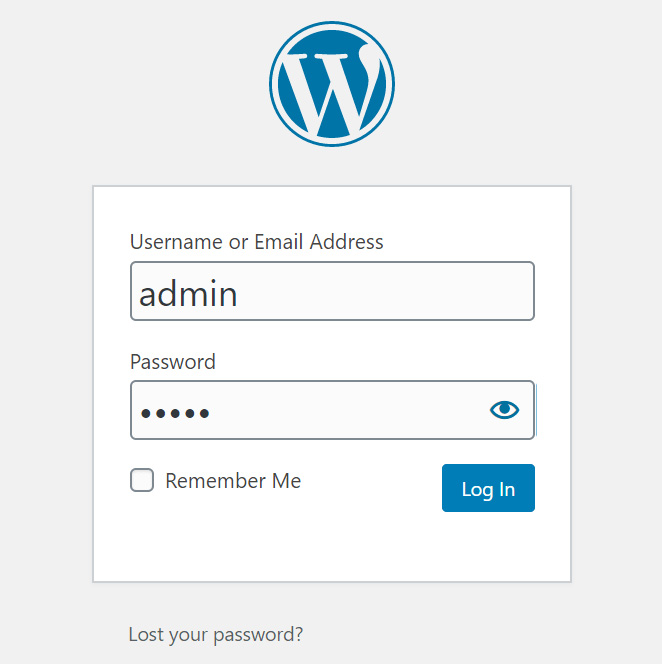
First, you need to log in to your WordPress admin panel. Ensure that you will log in as a user with proper permissions to modify your theme, post, or page. It depends on where you want to place the Instagram plugin on your webpage.
Step 2 – add a custom HTML block.
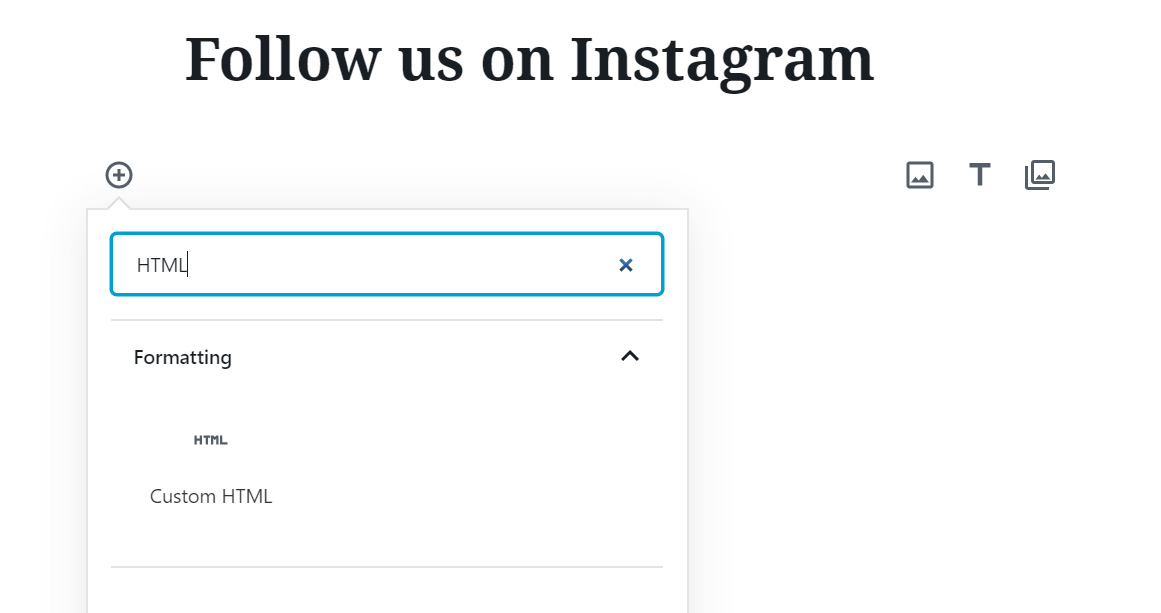
Create a new page/post or edit the existing one. In our case, we will create a new post.
From the list of available Gutenberg blocks, please select Custom HTML block. The Custom HTML block in Gutenberg is a block that allows users to add custom HTML code to their WordPress posts or pages. It enables them to add and customize any content written in HTML code, like our widget embed code.
Step 3 – paste widget embed code.
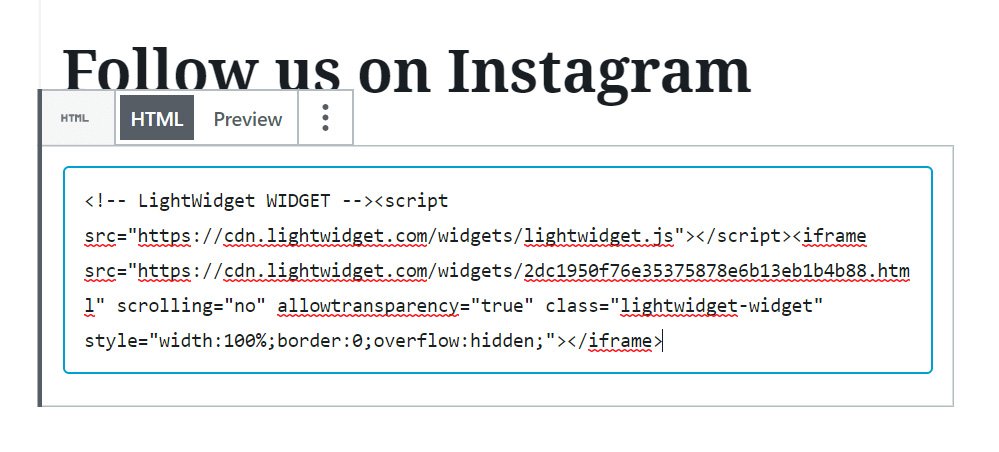
You should see the input where you can paste custom HTML. Please paste your widget embed code. In this example, we will use our demo widget code. You should use your widget embed code. Please copy it from your widget info page. If you don’t know what your code is, please read this tutorial – Where can I find my widget embed code?
Please click Publish or Preview button to see how the widget will look on your page.

Step-by-step instructions for WordPress widget.
You can also embed our widget into the WordPress widget block. It is a good alternative if you want to place the feed in the footer or if you don’t use the Gutenberg editor. You can also use this method if your theme does not support full-page editing using Blocks.
Step 1 – login to your WordPress admin panel.
It’s the same step as for adding our widget via Gutenberg. Please login to your WordPress admin panel.
Step 2 – create a new WordPress widget.
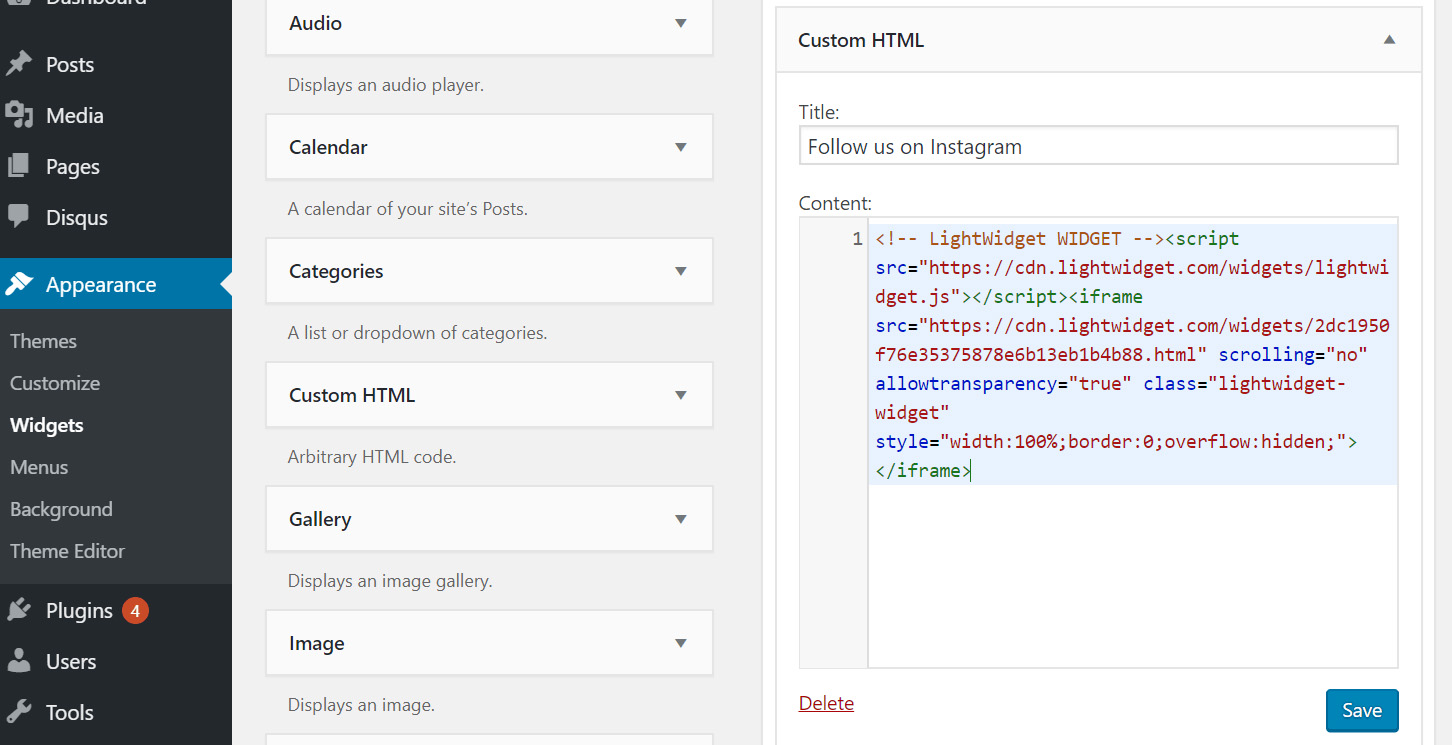
From the Appearance menu, please select Widgets. Drag and drop the Custom HTML widget to the desired section.
You can write a title for your widget. In our case, it’s “Follow us on Instagram”.
Please paste the widget embed code into the Content field. Again, we used our demo widget, but you should use your widget embed code.
Click the Save button, and the widget will appear on your website:)
WordPress.com issues with custom HTML
As we mentioned at the beginning of this tutorial, our widget will not work on WordPress.com websites. Please make sure to distinguish between wordpress.com and wordpress.org websites.
wordress.org is an open-source software that can be downloaded and installed on a web hosting server. It offers full ownership and control of your website, allowing you to customize and modify it as you see fit. You will need to purchase a web hosting service and a domain name separately, and you’ll be responsible for maintaining and updating your website. This option suits those who want complete control over their website, have technical knowledge, or are willing to learn.
wordpress.com, on the other hand, is a hosting platform that offers free and paid plans to users. The platform is owned and managed by Automattic, the company behind WordPress.org. It provides a simplified interface and hosting options, making it easy for anyone to create a website without technical knowledge. However, the features and tools provided by WordPress.com restrict users’ control over their website’s customization and functionality, limiting their options. The platform also includes a domain name and hosting, making it a convenient option for beginners.
Websites hosted on wordpress.com have various plans, each with some limitations. By default adding custom JavaScripts and Iframes, which our widget uses, is blocked. If you paste our widget embed code, you will not see any results on your website.
You can install our widget only on plans that allow the installation of custom plugins. Only two WordPress plans would enable that: Business and eCommerce plans.
What is WordPress?
WordPress is a free, open-source content management system (CMS) that allows users to create and manage websites, blogs, and online stores. It was first released in 2003 and has since become the most popular CMS in the world, powering over 40% of all websites on the internet.
WordPress offers a user-friendly interface and a wide range of customizable templates, themes, and plugins, allowing users to create websites with different functionalities and designs without requiring coding or web development knowledge.
It also offers a strong community of developers and users who share their expertise and resources, making it easy to find solutions and support when needed.
WordPress is a powerful and versatile CMS that offers ease of use, customizability, scalability, SEO-friendliness, and security. Whether you’re a blogger, business owner, or e-commerce entrepreneur, WordPress can provide a platform for you to create and manage your online presence with ease.
And a significant part is – you can easily install the Instagram widget with LightWidget on your page without having any additional plugins:)


Comments (0)
You must be logged in to post comments.