
How to create a widget for a client?
If you want to create a widget for your client, this guide is for you! It describes how to create and edit widgets from your clients without asking them for credentials to Instagram accounts or adding you with some role to the Facebook Page.
How does it work?
Let’s say you – the developer – want to create a widget for the Instagram account @john.doe (the client). Here are the necessary steps:
- The developer sends his client instructions on how to send the invitation.
- Using the provided instructions client sends the invitation to his developer.
- The developer accepts the invitation, and from now on, the developer can create, edit and upgrade widgets on behalf of the client.
This article covers the steps that the developer should take. We described the actions for the client in this article – How to grant access to the developer. As a developer, it’s worth checking both parts to see how the process works.
Step 1 – Create the user account.
First of all, you need an email account on our website. If you already have a user account, creating another one is unnecessary. You can use a single user account to manage multiple Instagram accounts of your clients.
If you don’t have a user account on LightWidget yet, please create one – Create an account on LightWidget.
Step 2 – Update your user data.
By default, your client will only see your masked email in his dashboard. We recommend updating your user details so it is easier for your client to know who you are.
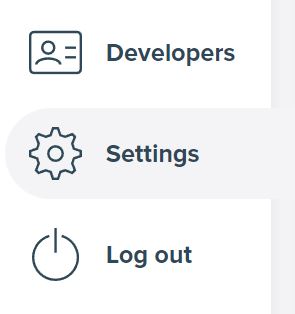
From the user menu, select the Settings option.
Click the Update user data link in the “Information about your account” section. You can update the following information:
- Name
- Avatar URL
- About/Description
Once you update the data, click the Update user details button to save the changes. You can edit them whenever you want.
Step 3 – Ask your client to send you the invitation.
Your client needs to send you the invitation so you can become his developer. As a developer, the only thing for you is to wait until your client completes the procedure.
You should send your client your email address (the one you signed up for on LightWidget) and the link to this article – How to grant access to the developer?
The whole procedure for your client looks like this:
- The client creates the user account.
- The client connects their Instagram account.
- The client pastes your email address on the Developer page, selects the Instagram account(s) you will have access to, and sends the invitation.
Step 4 – Accept the invitation.
When your client sends the invitation, you can proceed with accepting the invitation. Go to the Developers page on your user account. Scroll to the “Pending invitations” section. If no invitations are pending, this section is not visible.
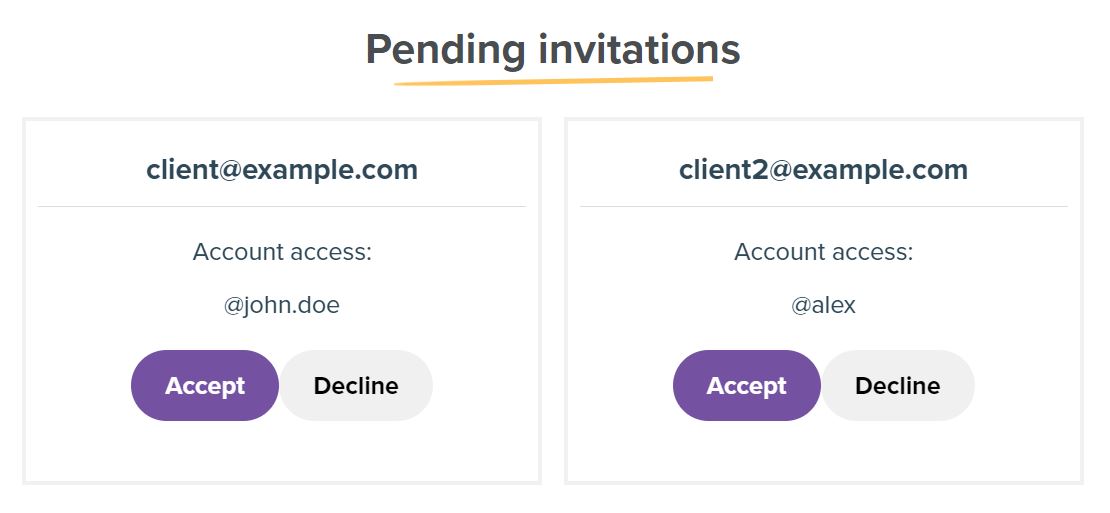
Click the Accept button in the pending invitation and confirm that you want to become the developer for this client in the modal pop-up.
Step 5 – Create the widget for your client.
After your client grants access, you can create a widget on his behalf. When you build a new Instagram widget, open the Content section and select your client account from the dropdown in the Instagram account field.
You can also purchase various add-ons on your client’s behalf and edit their widgets’ settings.
FAQ
Here is a list of frequently asked questions by developers regarding creating widgets for their clients.
How many different clients can I add this way?
There is no limit to the number of clients that add you as a developer. You can only manage one account this way, but you can also handle 100+ Instagram accounts.
Where can I find the list of accounts I can manage as a developer?
The list of Instagram accounts that you can manage as a developer is on the Instagram accounts page. This page has the section “Accounts that I manage,” where you will see a list of available accounts.
Can I stop being a developer for a given account?
Yes, you can. Go to the page with the list of accounts you manage. Hover your mouse over the Instagram account you want to delete and press the delete button that appears. Confirm the deletion in the dialog box.
Please remember that all the widgets you have created for this account will transfer to the client’s user account, and you will no longer retain access to them.
Can a client remove my developer access to his Instagram account?
The client can do this at any time. Any widgets you create for their Instagram account will remain in your user account if that happens.
How can I create a new widget for a client?
Go to the widget creation page. Select your client’s Instagram account from the list of available Instagram accounts and configure the widget.
Where can I find the widgets I have created for my client?
All the widgets you have created for your clients are on the My Widgets page. You can see all of them in the “Widgets from accounts that I manage” section.
In addition, the list also includes other widgets from your client that he created. You can edit its widgets which have Upgraded status.
How do I edit a client widget?
Editing is the same as with your widgets. You can find the instructions for editing the widget settings here – How to update widget settings?
What happened with the developer code?
We got a lot of feedback that adding a developer is a bit complicated for some of their clients. We decided to simplify the entire procedure and make it more user-friendly. The developer code string is no longer available. Any accounts that granted you access using developer code remains not affected.


Comments (0)
You must be logged in to post comments.