

The new widget creator is here!
In this article, we'll look closer at our redesigned widget creator and show you how to use it to create Instagram widgets that will enhance your website's functionality and appearance.
New widget creator
It is a massive update to our service. We rewrote the entire creator from scratch, giving it a new look and options!
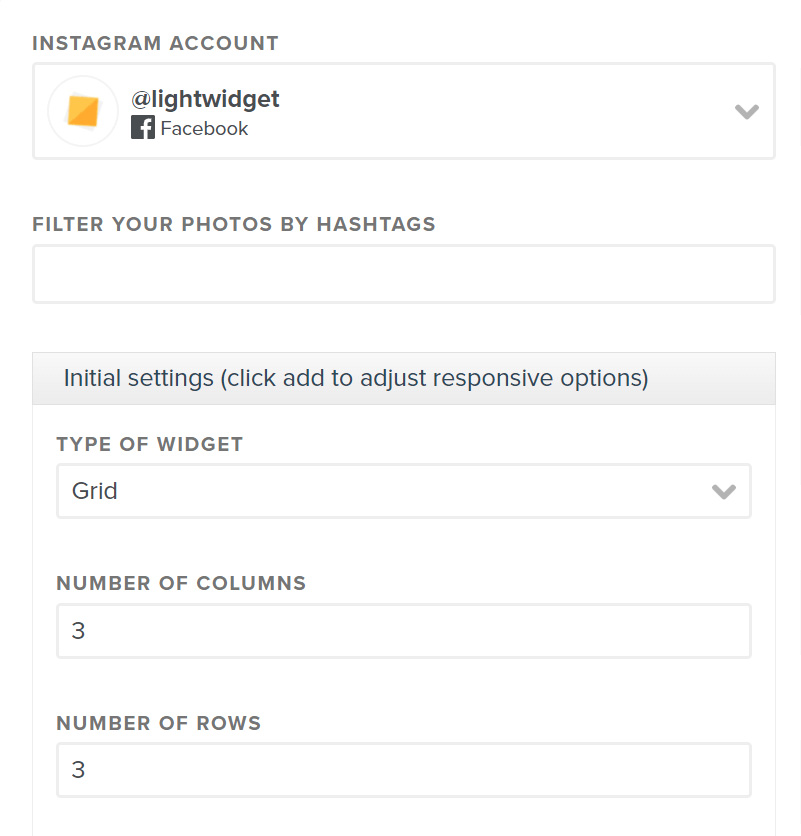
Here is how it looked in the past:
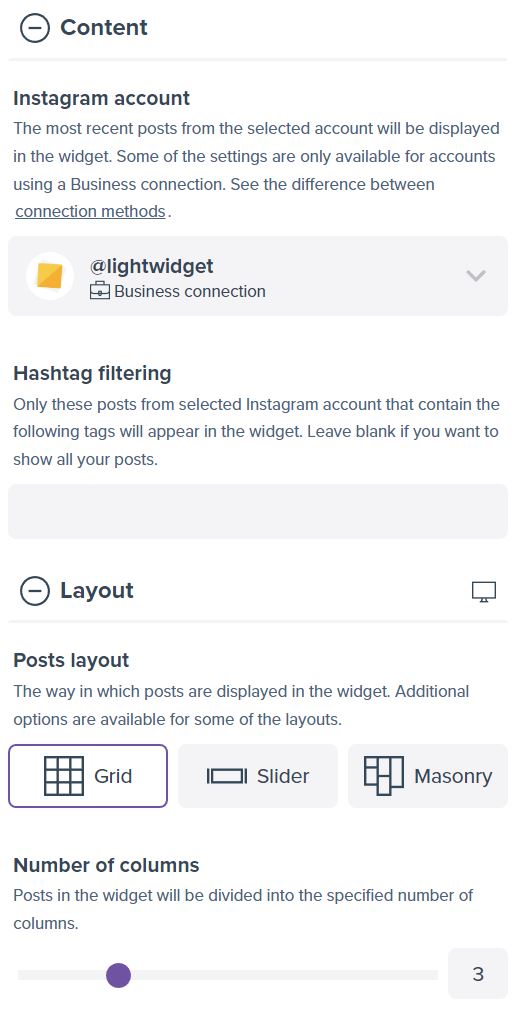
And here is how it looks right now:
Check what changes we have made:
- Sections have been introduced to group options, making it simpler to locate the desired settings. Previously everything was listed as one column. Adding new features made the form super long. Now it’s shorted and, in our opinion – more straightforward to understand!
- Each field has the help text explaining what a particular option does. It should be helpful for non-tech users to create widgets for their websites.
- Instead of dropdowns, we now have a selector with icons. Less clicking!
- In addition to number inputs, we now have sliders. You still have the option to provide a value by changing the value in a number field.
- Clearer display of unavailable options (because of settings conflict or usage of consumer connection).
- The widget creator now generates a preview whenever you change any available options. You no longer need to manually click the “Create preview” button to see the updates.
- The generator now displays errors below the field instead of at the bottom of the form.
- We created a new, more intuitive way to configure the mobile options. Read more about how to use the new functionality here: How to configure the widget for mobile.
- We added the option to display the widget on a dark background. Configuring the Instagram widget for websites with dark color schemes is easier.
- Option to configure the widget creator behavior.
- We added visual updates to inputs and other elements.
- We have renamed some of the options.
Previously, next to the widget, there was an orange arrow that you could use to resize the widget to see what it looks like on a desktop, tablet, or mobile device:
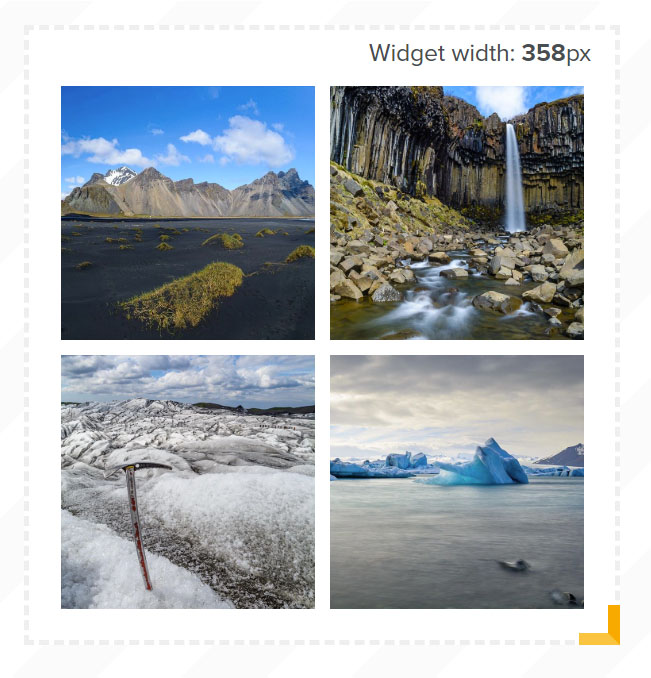
After the update, it’s much more manageable. You can check how the widget looks on various devices using three buttons placed above the widget:
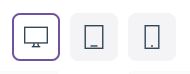
You can use the same buttons to switch between desktop, tablet, and mobile settings.
The new widget creator also has some configurable options. There are three dots buttons in the top right corner, next to the controls, where you can change the widget’s preview. Once you click on this button, a context menu will appear with configurable options.
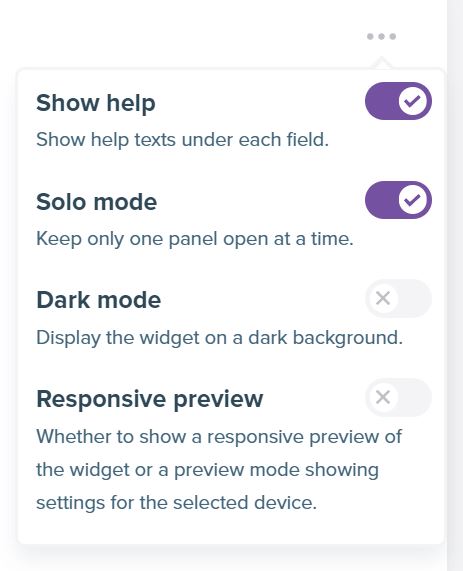
You can configure the following:
- Show help texts under the inputs. Hiding the help texts makes the form smaller. We recommend it for users who are already familiar with our widget creator.
- Solo mode for accordion panels. You can decide whether to keep only one section with options open or to have the possibility to have multiple panels available.
- Using the dark mode, you can show a widget preview on a dark background instead of a white one.
- A responsive preview option is valuable on smaller screens or in certain situations. You can find more on how to use this option in this article: How to configure the widget for mobile.
Header in the widgets!
This feature has been available for some time, but we must announce it properly! You can now configure the header for your widget containing information about your profile, and the follow me button. The widget header is optional.
Currently, we added four different layouts and nine elements to show. You can select which parts to display and which to hide. You must connect your Instagram account using a business connection to access certain features.
You can read more about business/consumer connection in this article: The difference between business and consumer connection.

Headers are available for all widgets, both free and upgraded. To turn on the widget header, please:
- Create or edit your Instagram widget.
- Expand the Header section.
- Enable the heading section using the Show header option.
- Select the desired layout of the elements in the header using the Header layout option.
- Select which features you want in your heading section in the Header elements option.
- You can also adjust how big or small the profile photo is by changing the value in the Profile photo size option.
- The size of the text elements in the header is also adjustable. Please provide the desired value in the Header font size option.
Business/creator connection instead of Facebook/Instagram connection
We decided to rename the Instagram account connection methods. Previously it was named Connect with Facebook and Connect with Instagram.
The change was because some of our users thought connecting via Facebook would generate a widget for a Facebook account. To avoid similar mistakes, we decided to rename the connection methods to:
- Connect with Facebook is now a Business connection.
- Connect with Instagram is now a Consumer connection.
Other than the name change, everything else works in the same way!
Updates to columns widgets
Columns type of widgets (currently named Masonry) got a visual update too. We removed the border around the images and added the option to hide or trim the captions. Here is the before:

And here is the after:

Looks much cleaner! You still have the option to show the captions and even trim them to the given length, like in grid captions.
Updates to slideshow widgets
Slideshow types of widgets (currently named Slider) also got an update related to captions. It is now possible to show captions under the images like in any other widget type. You can trim captions to the given length as well.
Other (tech) changes
There are multiple other changes to the website and widgets. Here are two of them that can affect your Instagram widgets:
- We now trim captions added to the
figcaptiontag andaltattribute. Suppose the user does not configure the widget to show captions. In that case, we cut them to around 100 characters instead of including the entire caption. It keeps the SEO happy, but at the same time, it decreases the size of the widget quite considerably! - We removed the
lightwidget__posts--captionclass from our widgets. If you use it in your Custom CSS, please check if your widget works correctly.
i can't select 'Likes and comments' anymore
2134oppa •
Hi there! Please make sure that you are using an Instagram account connected via the Business connection. Accounts connected over Consumer connection do not have the option to display the number of likes and comments.
LightWidget •
Awesome work! I would really love to see a post click action to open a full image overlay with a close function. :D
sblower •
Hi there! Thank you for your kind words! The overlay functionality should be available this year!
LightWidget •
I am very impressed by your widget. I installed today the insta widget and it worked at once without any trouble with the API. The amount of money for the full version is very reasonable and much more attractive than any other offering I found so far.
li***t@w****s.de •
Thank you:)))
LightWidget •